gallery

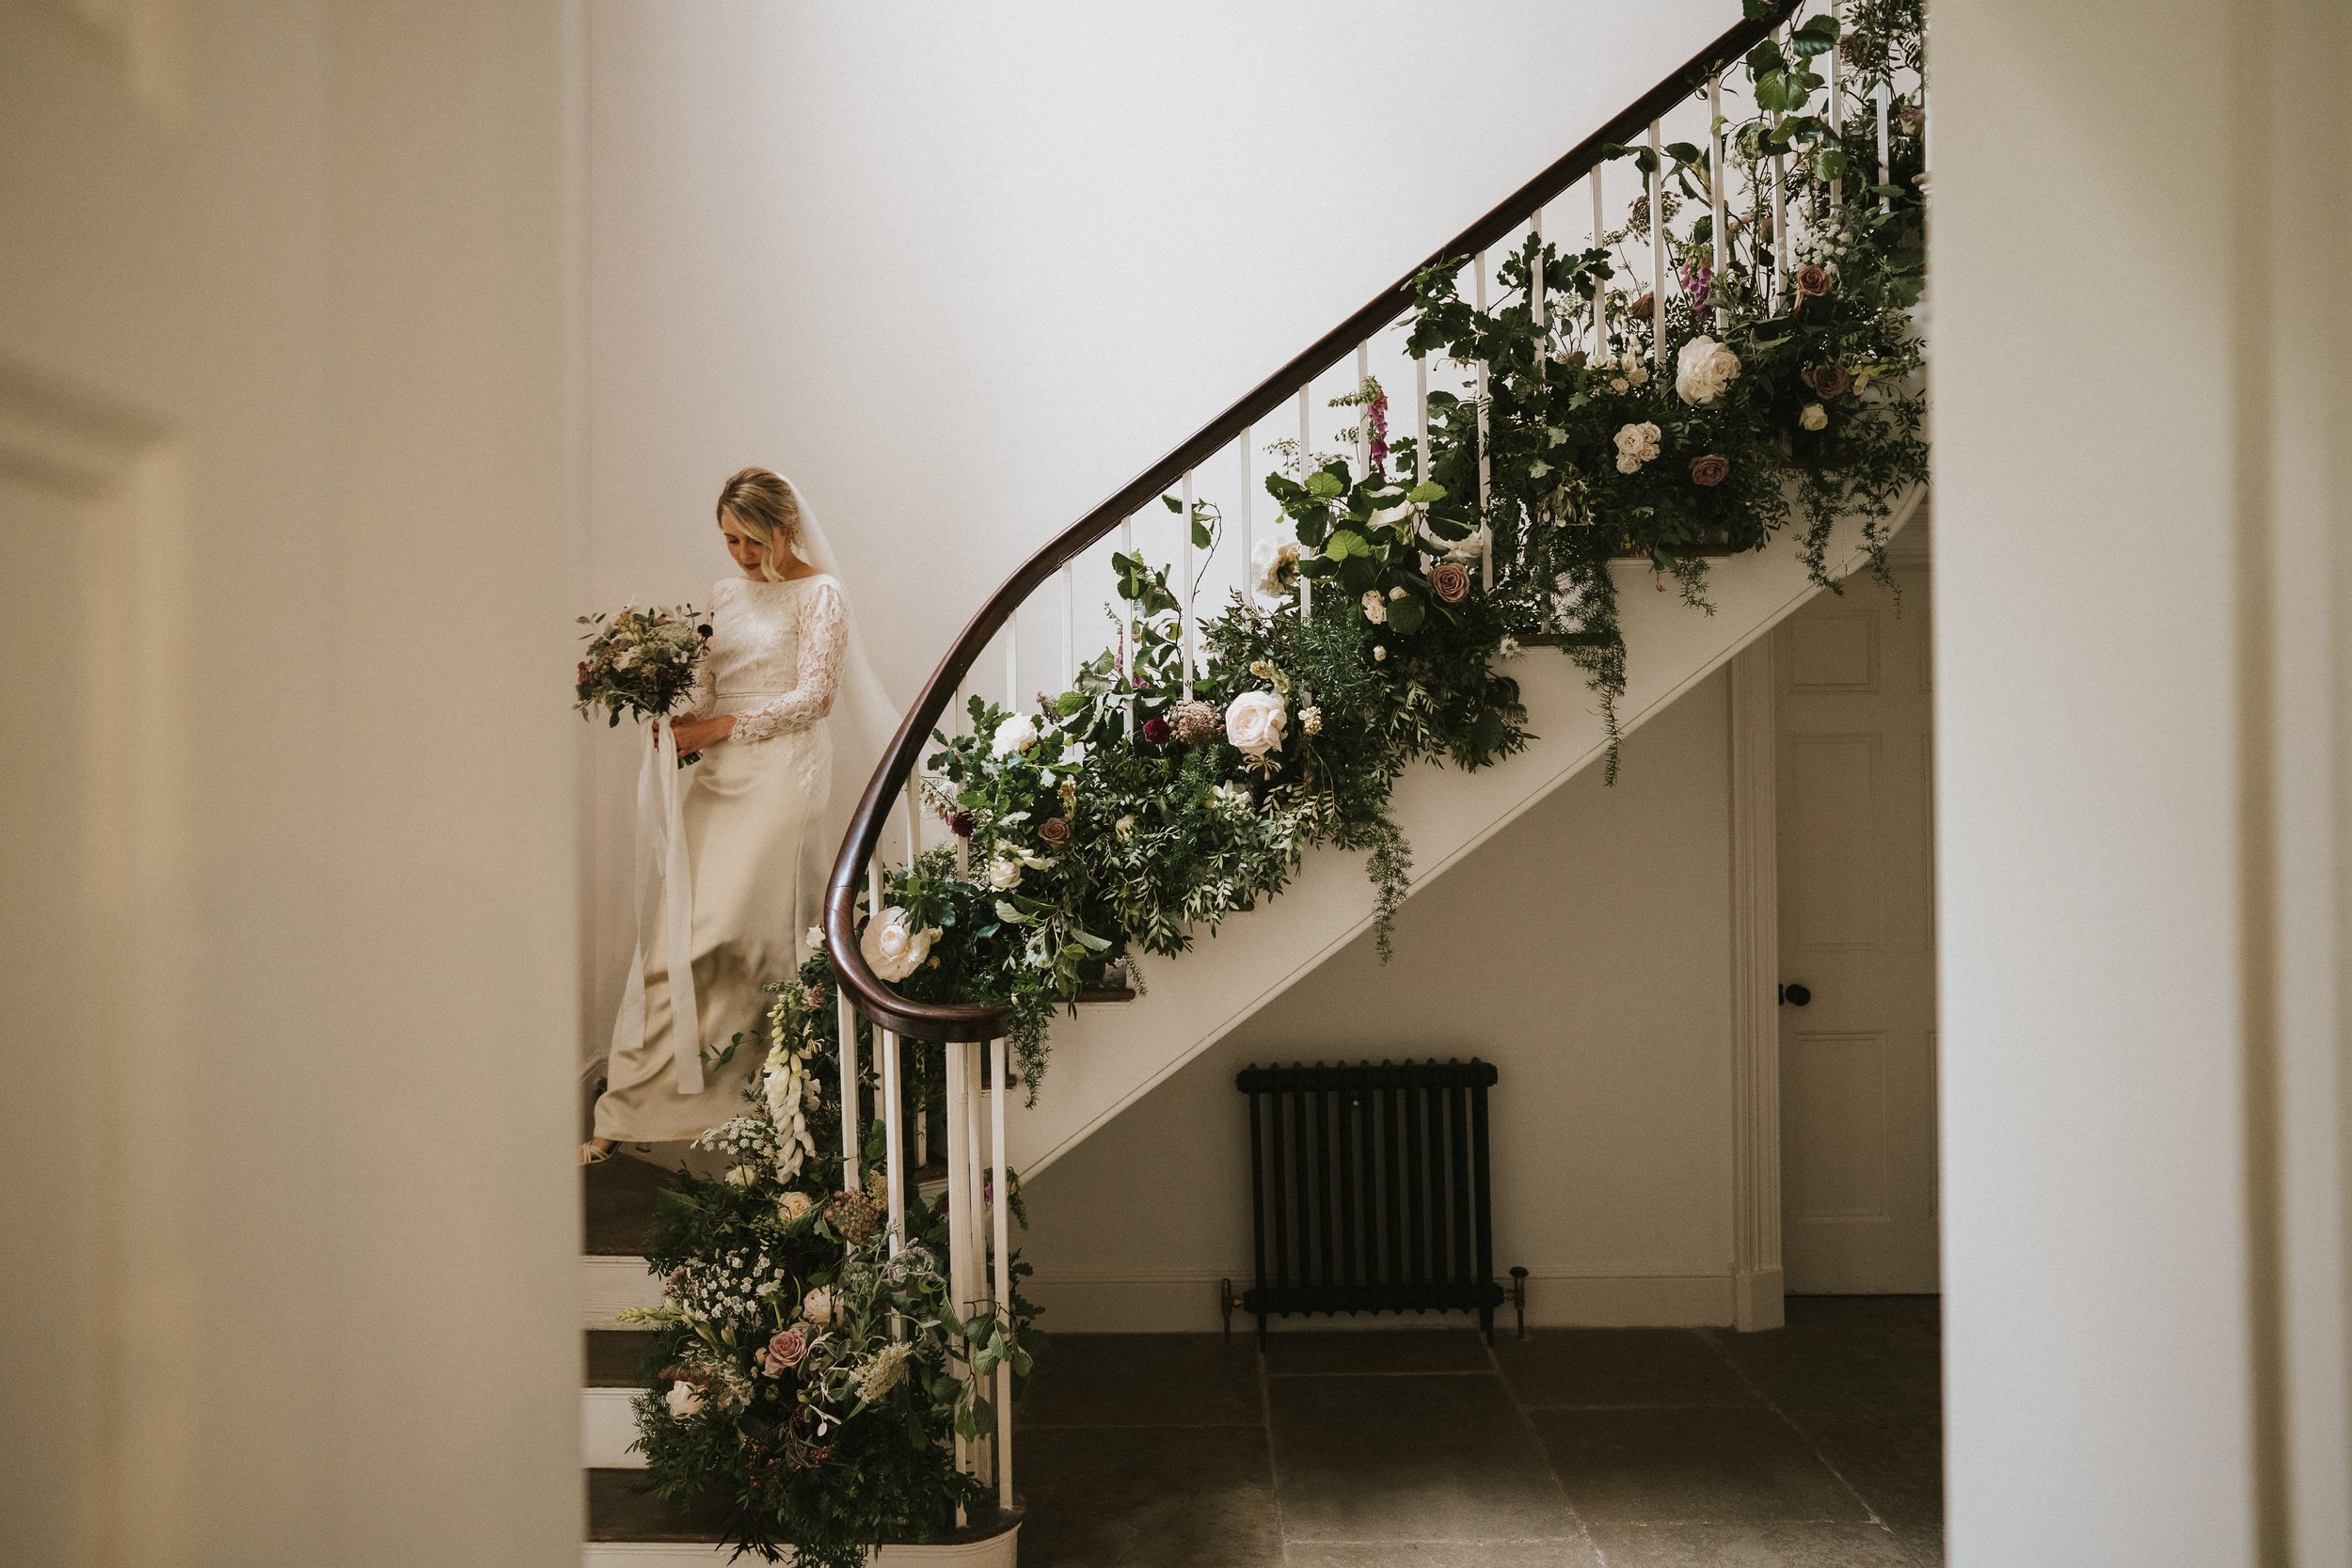
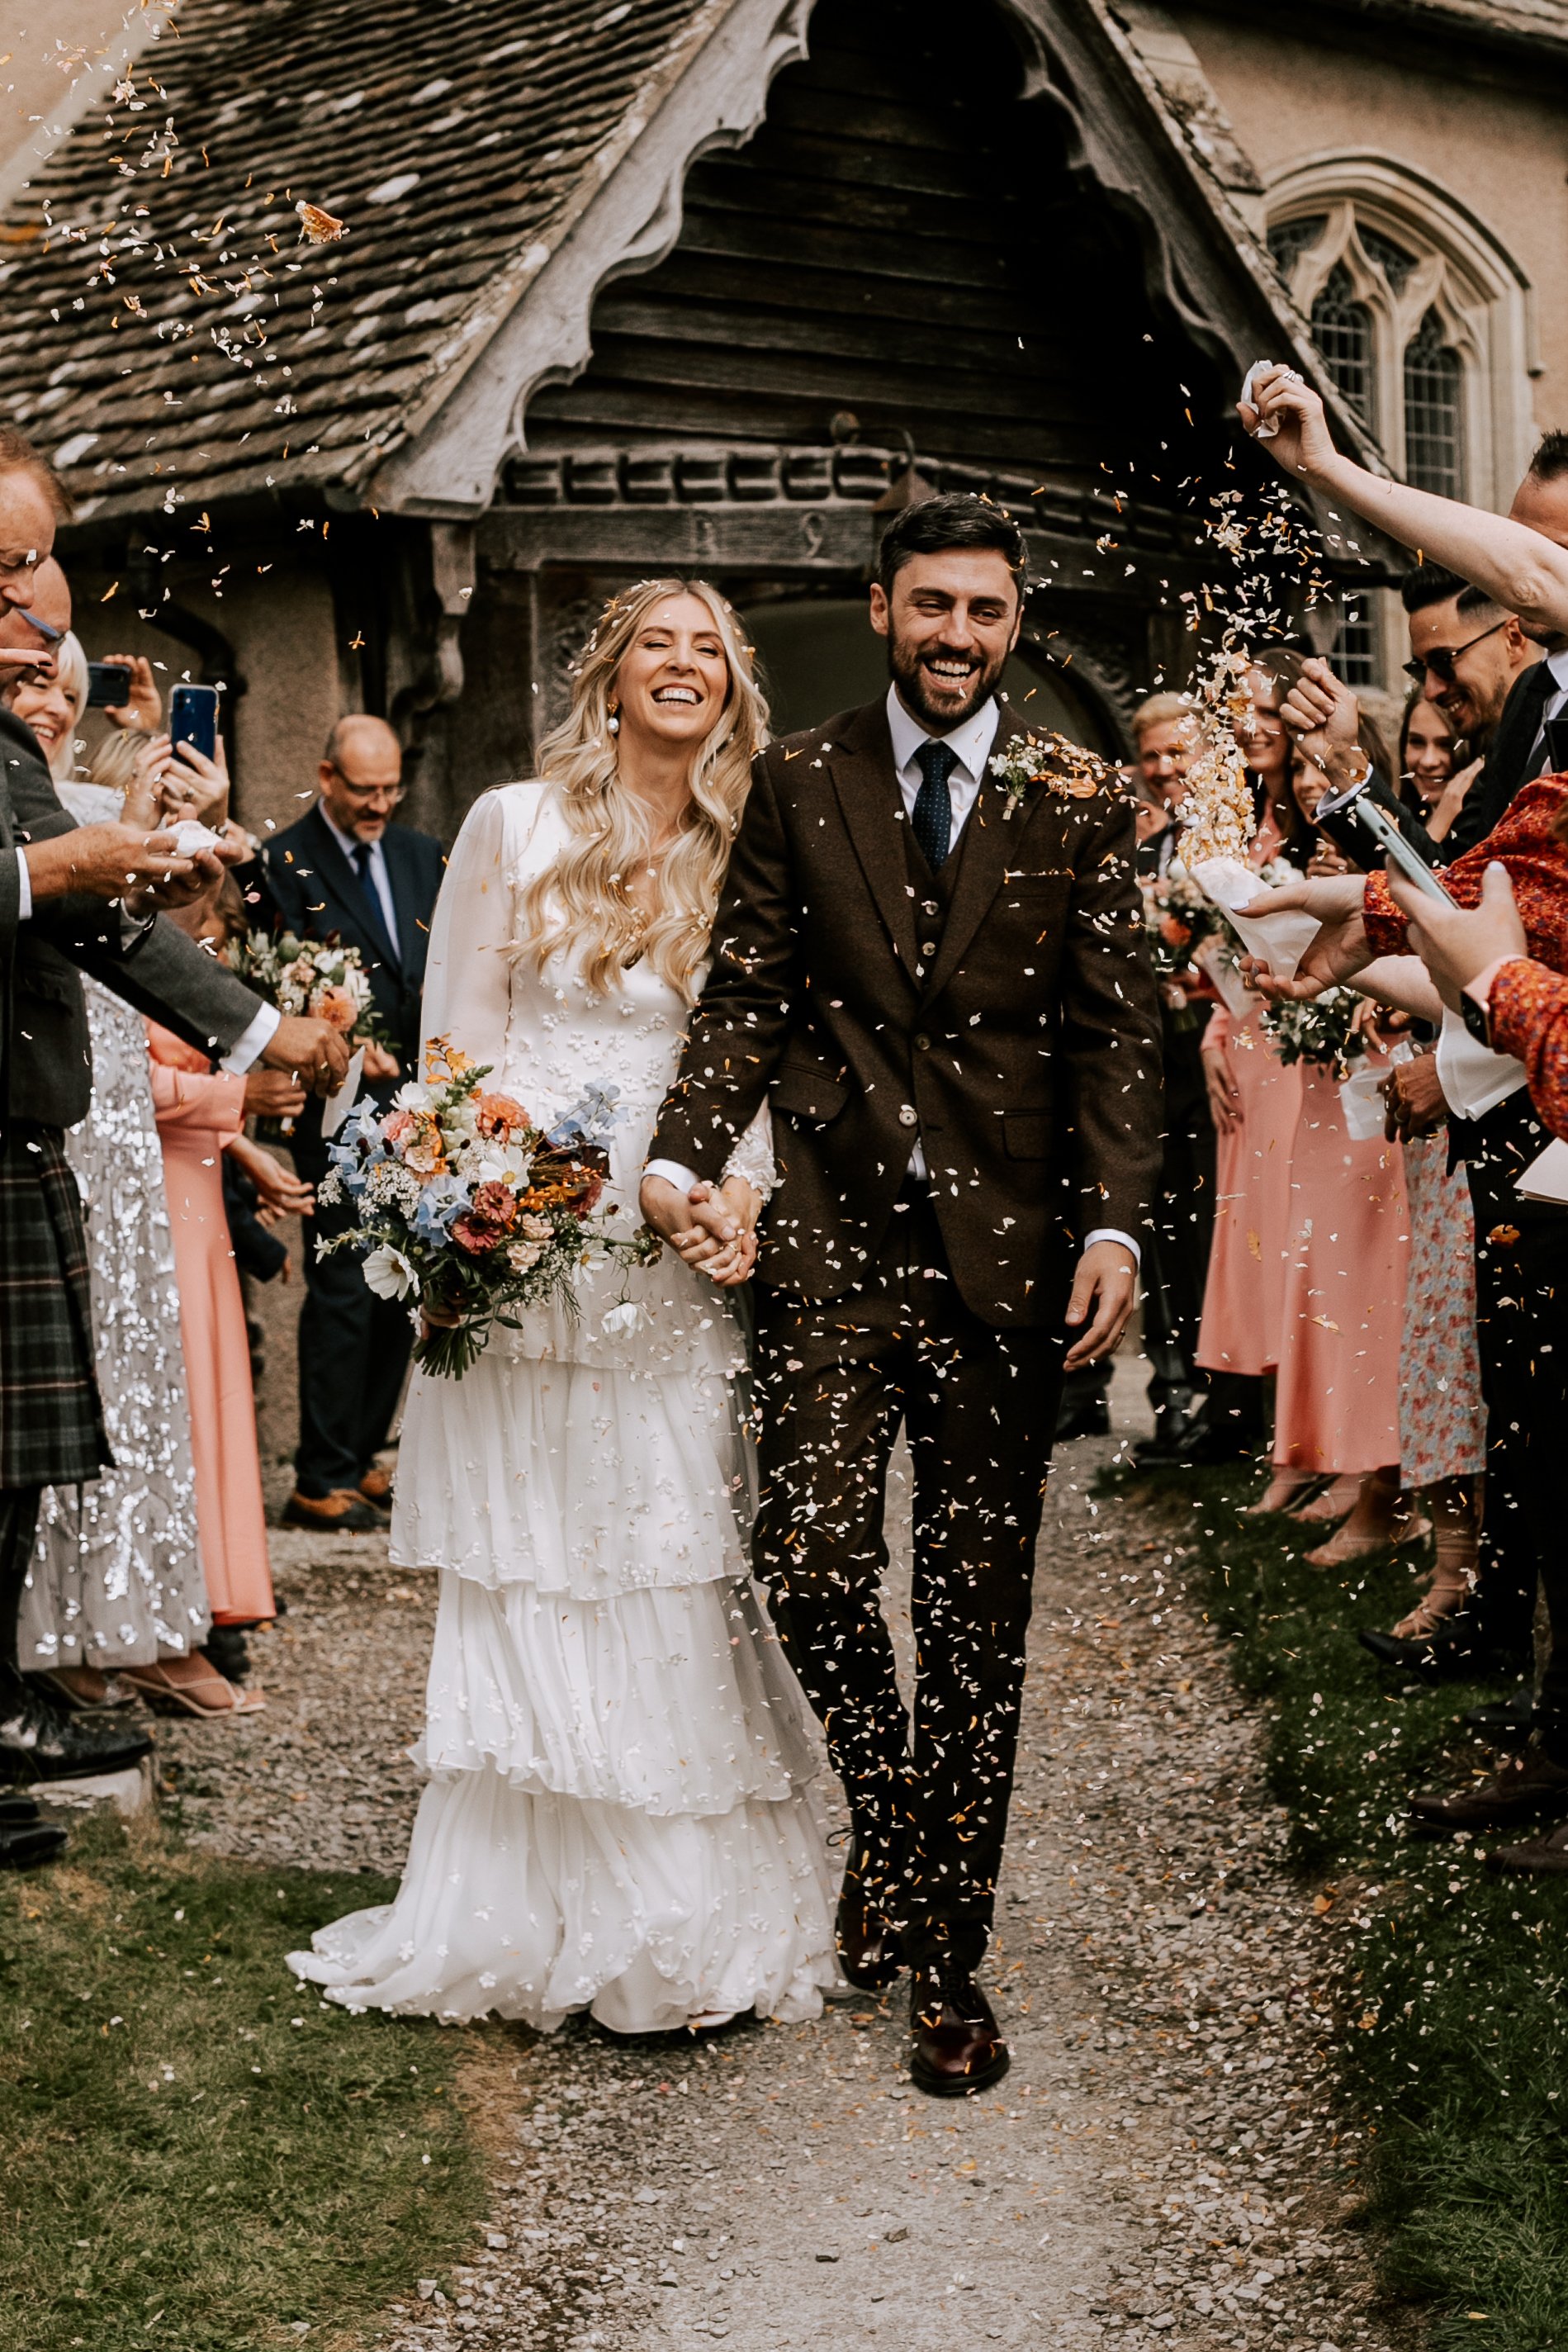
Harriet + Andrew — Aswarby Rectory — Photography by Elizabeth Rose

Harriet + Andrew — Aswarby Rectory — Photography by Elizabeth Rose

Harriet + Andrew — Aswarby Rectory — Photography by Elizabeth Rose

Harriet + Andrew — Aswarby Rectory — Photography by Elizabeth Rose

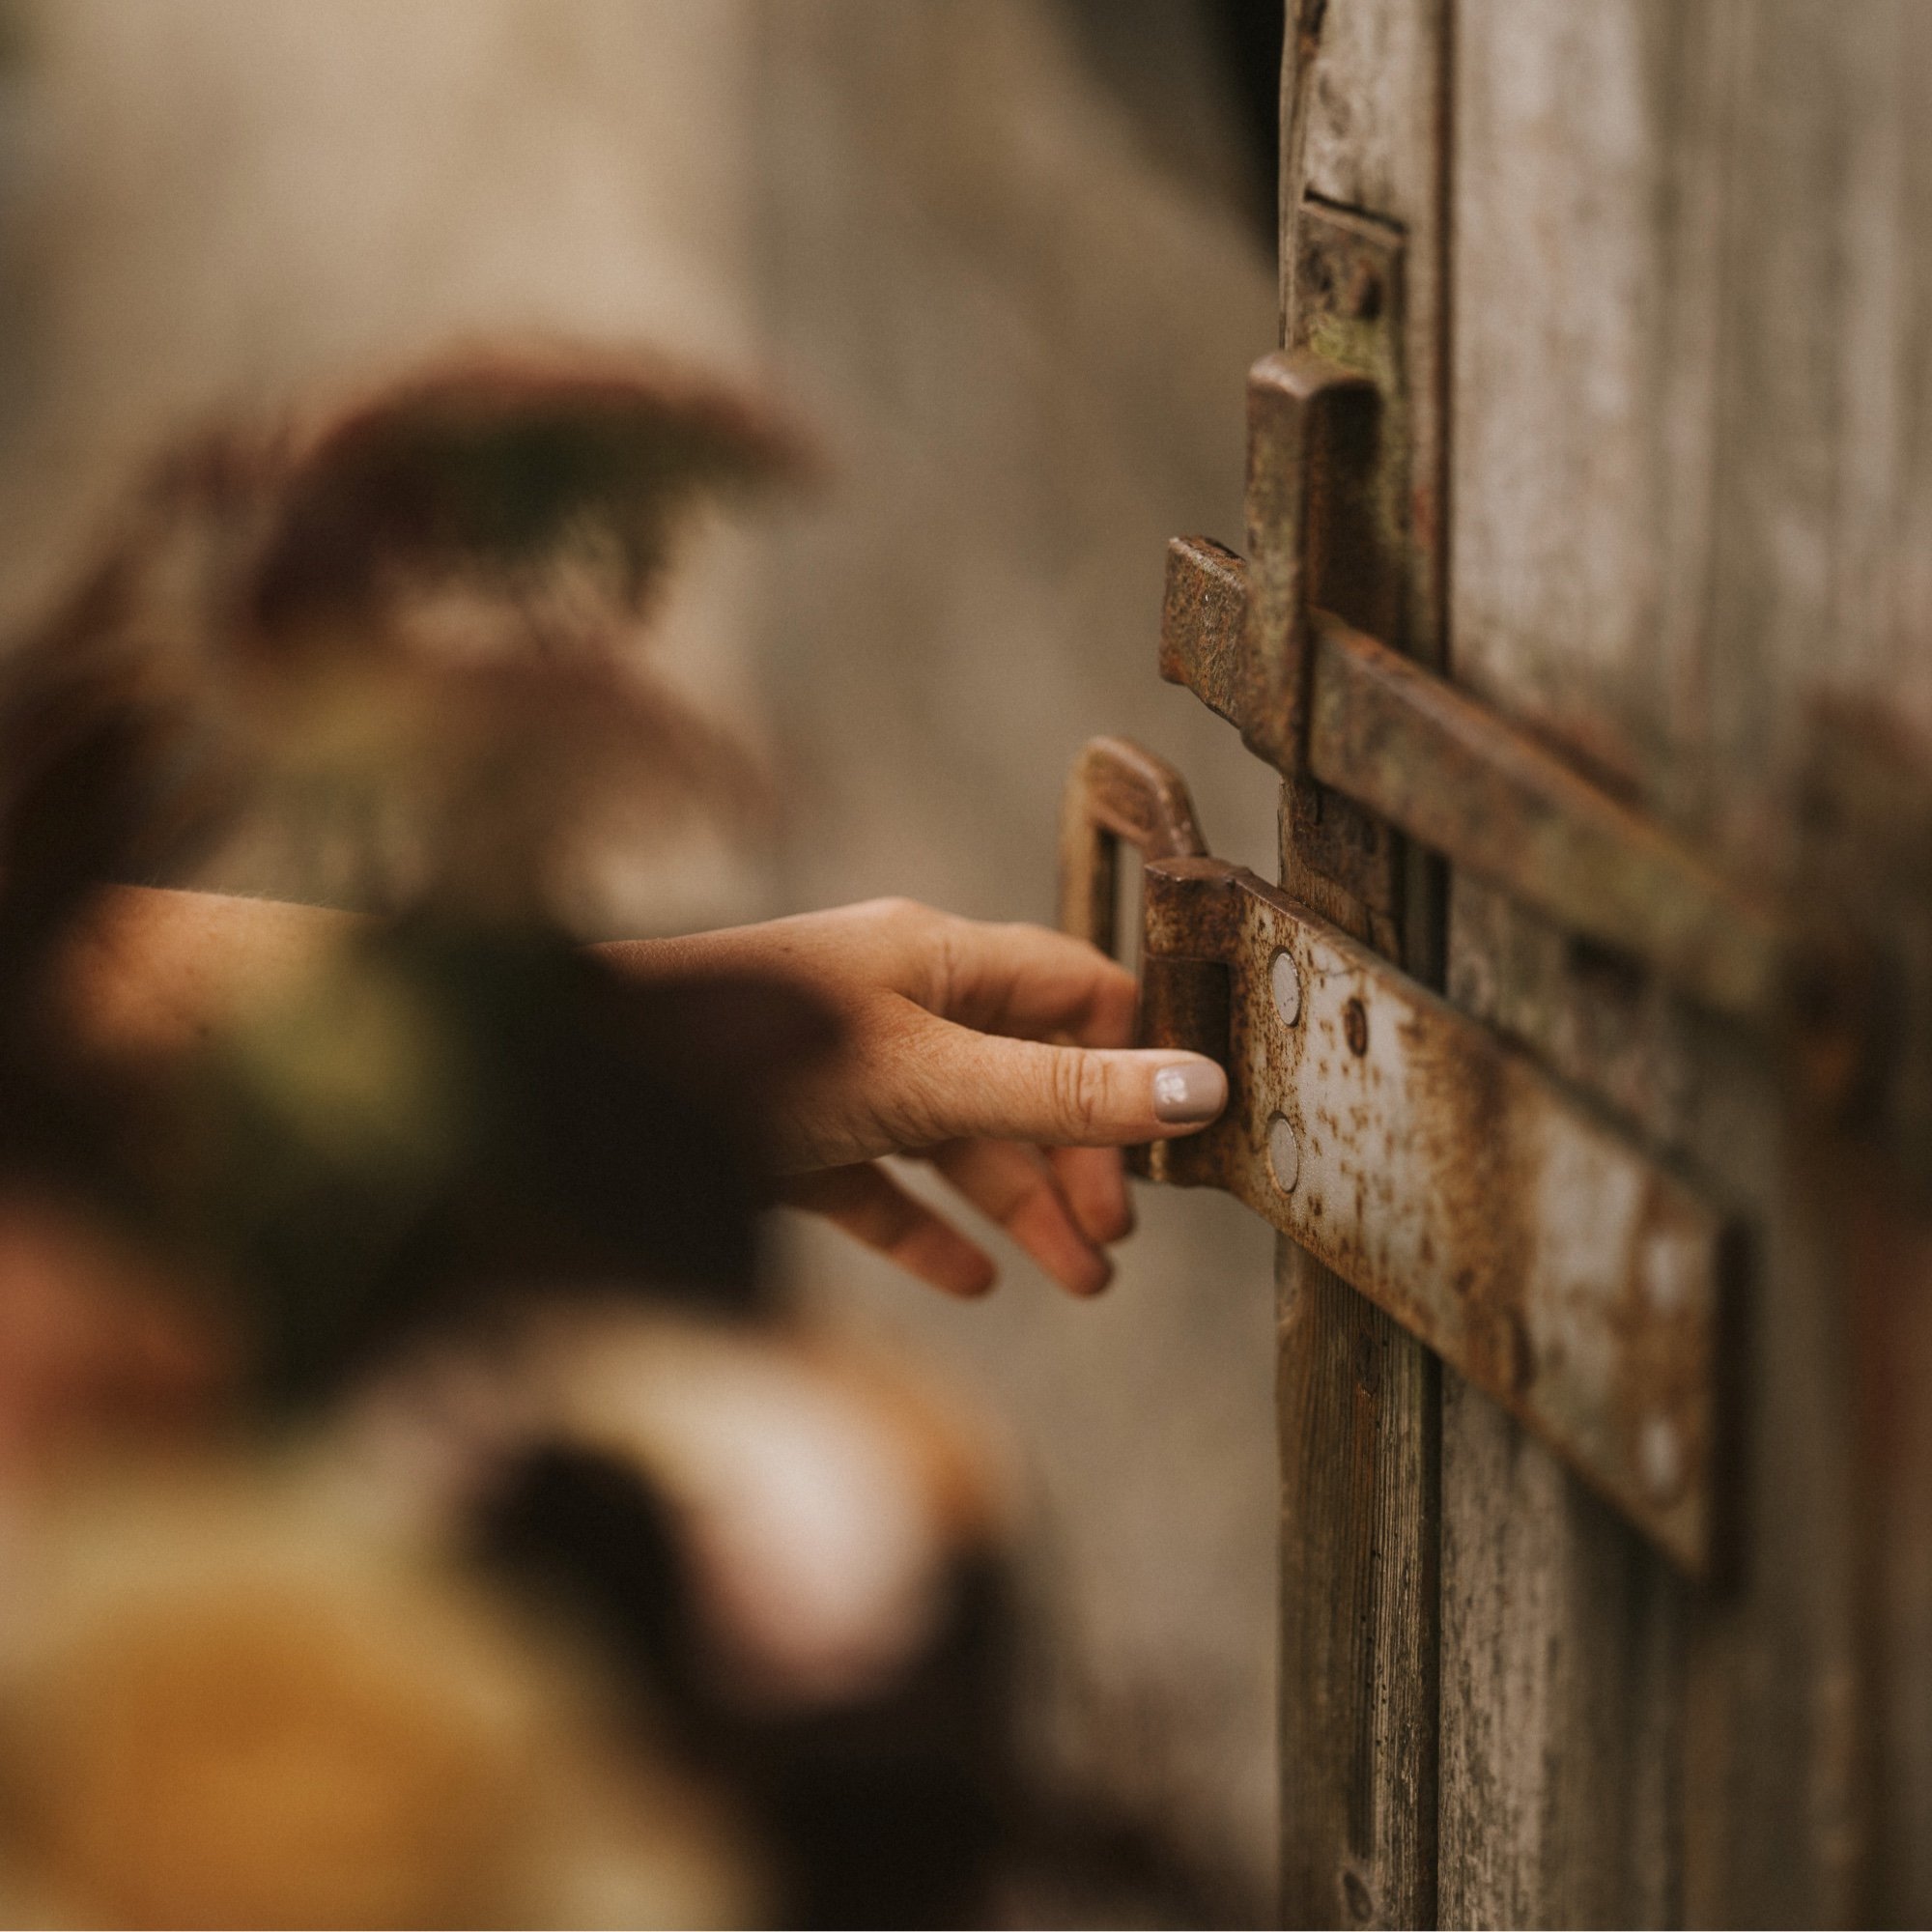
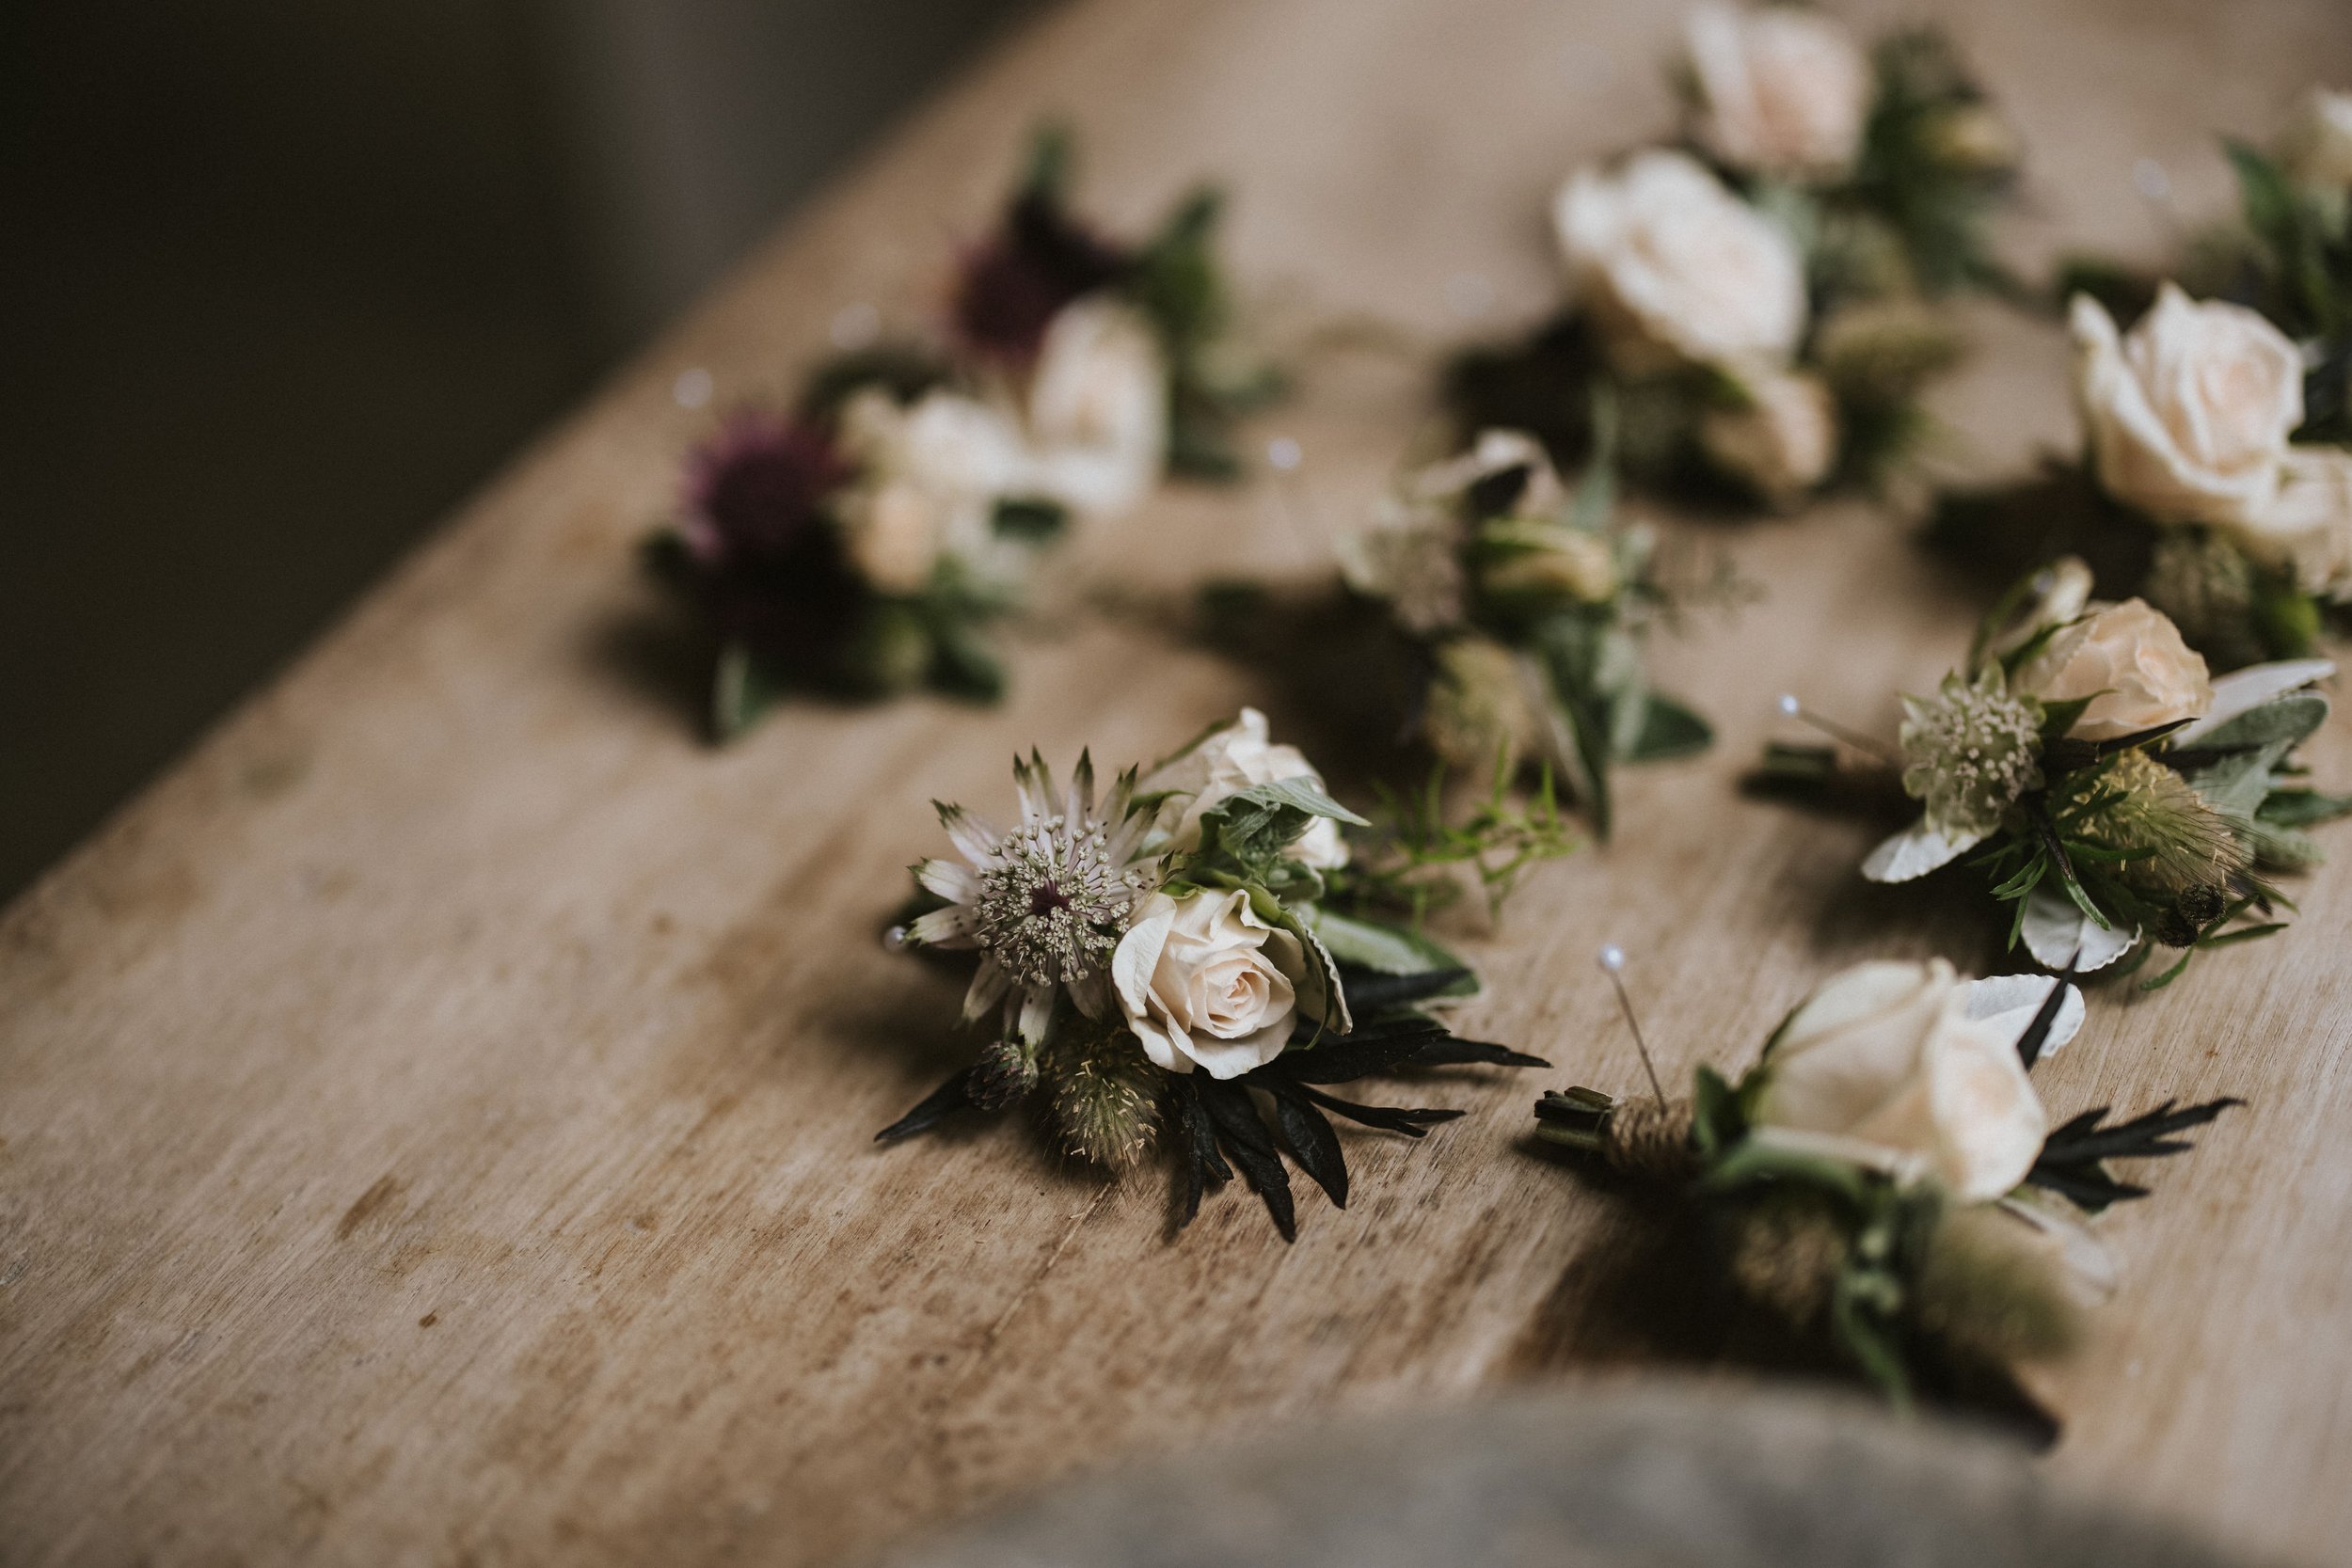
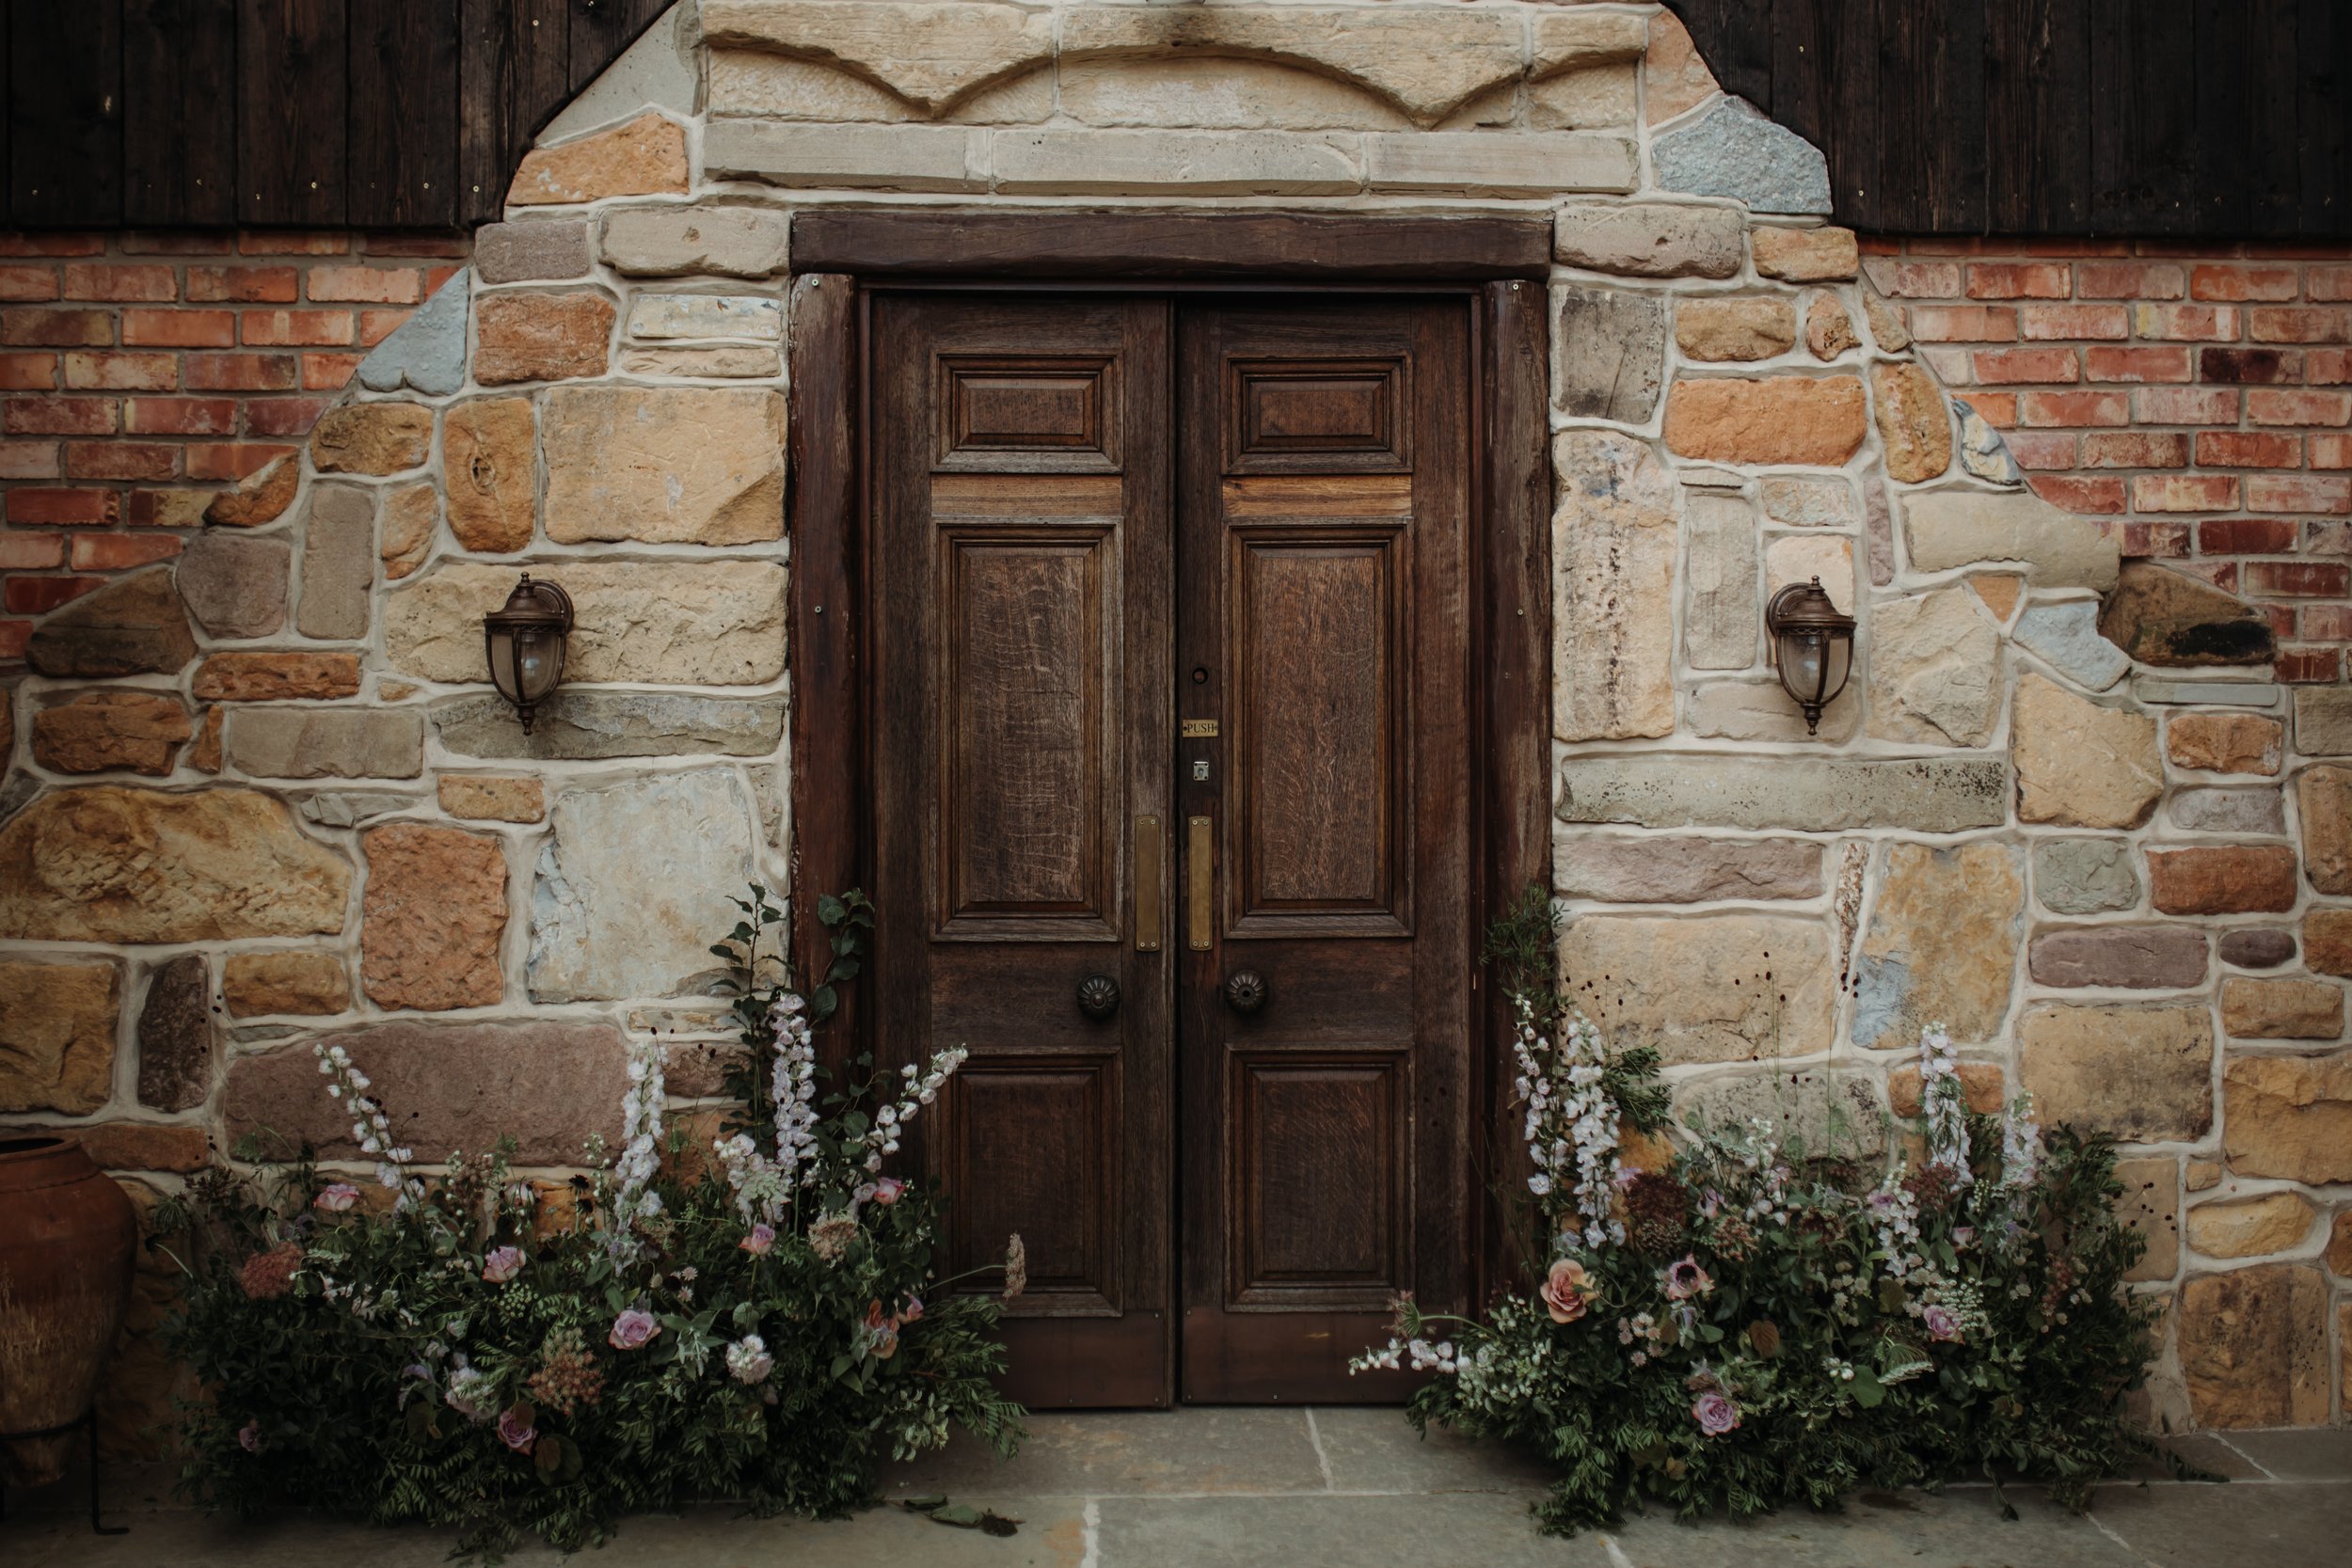
The Drying Barn, Hackthorn — Photography by Henry Lowther and Elizabeth Rose

Elly + Ernie — Lincoln City Centre — Photography by Henry Lowther

Harriet + Andrew — Aswarby Rectory — Photography by Elizabeth Rose

Harriet + Andrew — Aswarby Rectory — Photography by Elizabeth Rose

Harriet + Andrew — Aswarby Rectory — Photography by Elizabeth Rose

Harriet + Andrew — Aswarby Rectory — Photography by Elizabeth Rose
Harriet + Andrew — Aswarby Rectory — Photography by Elizabeth Rose
Harriet + Andrew — Aswarby Rectory — Photography by Elizabeth Rose

Becki + Craig — Doddington Hall — Photography by Matt Horan

Tanya + Jonnie — Walcot Hall — Photography by Emma Kenny

Tanya + Jonnie — Walcot Hall — Photography by Emma Kenny
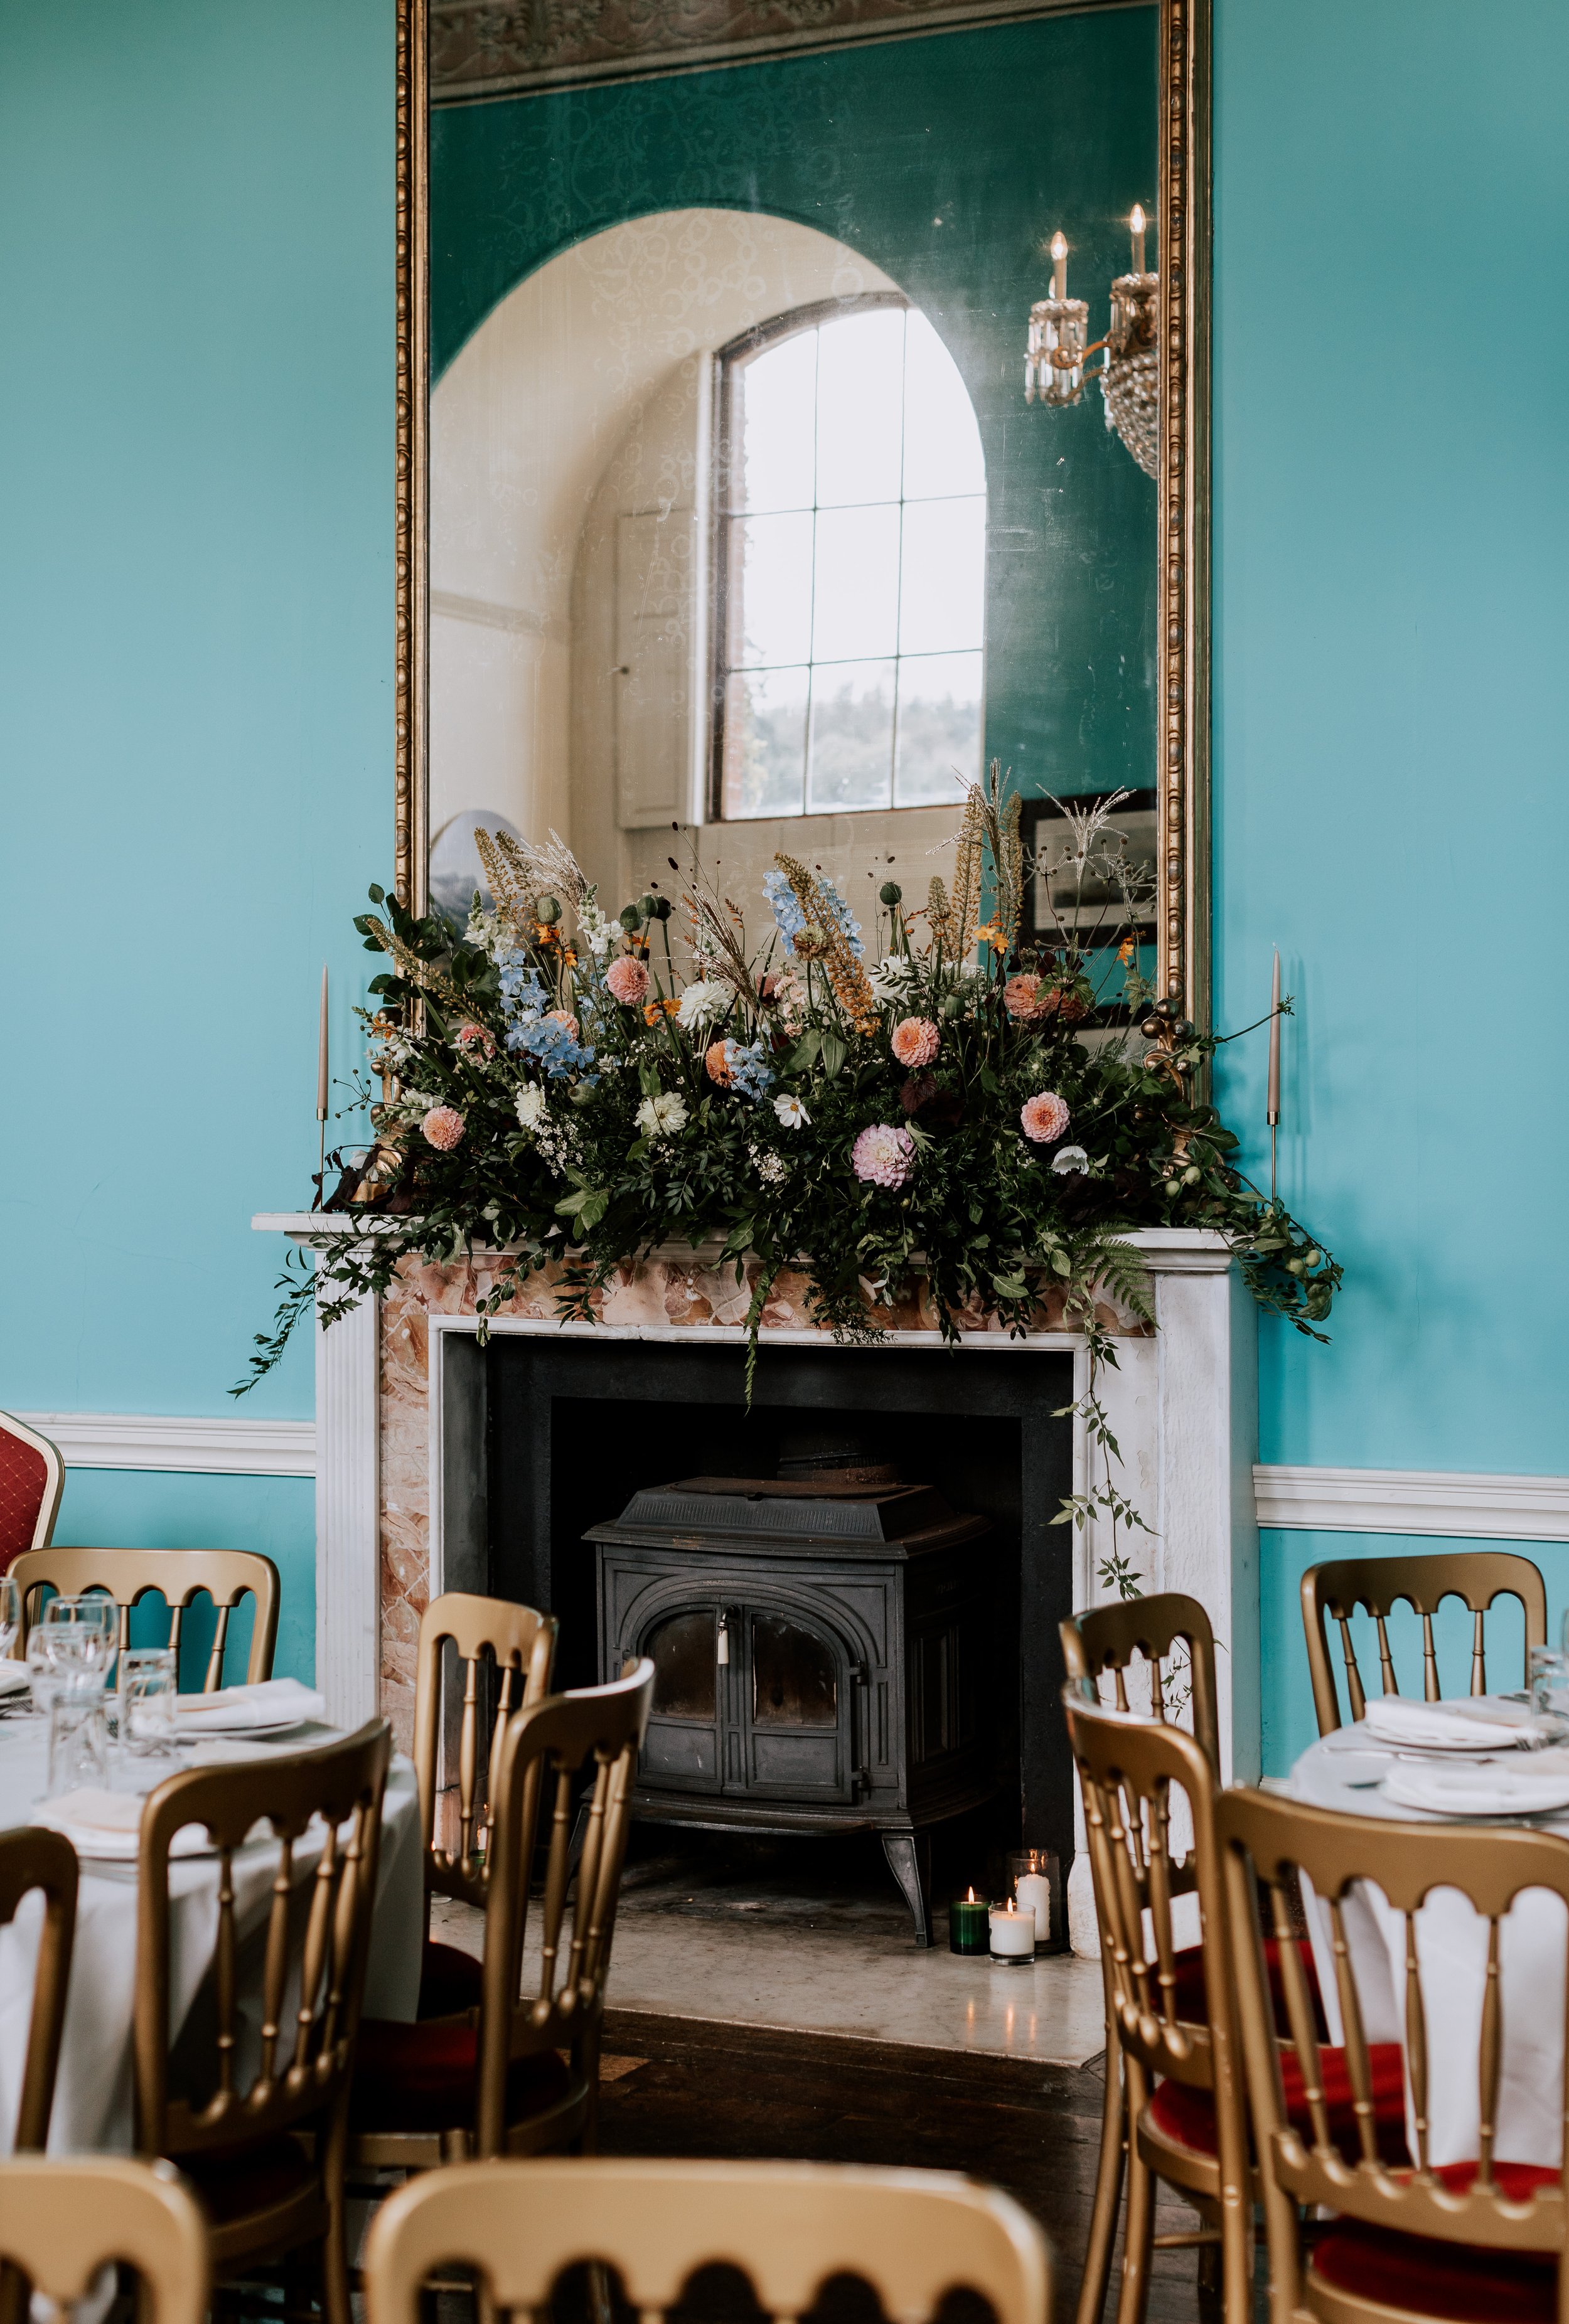
Tanya + Jonnie — Walcot Hall — Photography by Emma Kenny
Tanya + Jonnie — Walcot Hall — Photography by Emma Kenny

The Drying Barn, Hackthorn — Photography by Henry Lowther and Elizabeth Rose

Hackthorn Estate — Photography by Henry Lowther and Elizabeth Rose

Hackthorn Estate — Photography by Henry Lowther and Elizabeth Rose
Emily + Jim — Wootton Hall — Photography by Steven Haddock

Emily + Jim — Wootton Hall — Photography by Steven Haddock

Emily + Jim — Wootton Hall — Photography by Steven Haddock

Emily + Jim — Wootton Hall — Photography by Steven Haddock

Emily + Jim — Wootton Hall — Photography by Steven Haddock

Emily + Jim — Wootton Hall — Photography by Steven Haddock

Emily + Jim — Wootton Hall — Photography by Steven Haddock

Emily + Jim — Wootton Hall — Photography by Steven Haddock

Emily + Jim — Wootton Hall — Photography by Steven Haddock

Mia + Fletcher — Aswarby Rectory — Photography by Magda K

Mia + Fletcher — Aswarby Rectory — Photography by Magda K

Mia + Fletcher — Aswarby Rectory — Photography by Magda K

The Drying Barn, Hackthorn — Photography by Henry Lowther and Elizabeth Rose

Emily + Joe — Aswarby Rectory — Photography by Matt Horan

Emily + Joe — Aswarby Rectory — Photography by Matt Horan

Emily + Joe — Aswarby Rectory — Photography by Matt Horan

Emily + Joe — Aswarby Rectory — Photography by Matt Horan

Emily + Joe — Aswarby Rectory — Photography by Matt Horan

Emily + Joe — Aswarby Rectory — Photography by Matt Horan

Emily + Joe — Aswarby Rectory — Photography by Matt Horan

Emily + Joe — Aswarby Rectory — Photography by Matt Horan

The Drying Barn, Hackthorn — Photography by Elizabeth Rose

The Drying Barn, Hackthorn — Photography by Elizabeth Rose

The Drying Barn, Hackthorn — Photography by Elizabeth Rose

The Drying Barn, Hackthorn — Photography by Elizabeth Rose

The Drying Barn, Hackthorn — Photography by Elizabeth Rose

The Drying Barn, Hackthorn — Photography by Elizabeth Rose

The Drying Barn, Hackthorn — Photography by Elizabeth Rose

The Drying Barn, Hackthorn — Photography by Elizabeth Rose

Charlotte + Cameron — Willow Marsh Farm — Photography by Essie Lou Triffitt

Charlotte + Cameron — Willow Marsh Farm — Photography by Essie Lou Triffitt
Charlotte + Cameron — Willow Marsh Farm — Photography by Essie Lou Triffitt

Charlotte + Cameron — Willow Marsh Farm — Photography by Essie Lou Triffitt

Charlotte + Cameron — Willow Marsh Farm — Photography by Essie Lou Triffitt

Lisa + Richard — Aswarby Rectory — Photography by Fraser McGee

Lisa + Richard — Aswarby Rectory — Photography by Fraser McGee

Lisa + Richard — Aswarby Rectory — Photography by Fraser McGee

Ellie + Jack — Rutland — Photography by Poppy Carter

Ellie + Jack — Rutland — Photography by Poppy Carter

Ellie + Jack — Rutland — Photography by Poppy Carter

Ellie + Jack — Rutland — Photography by Poppy Carter

Ellie + Jack — Rutland — Photography by Poppy Carter

Ellie + Jack — Rutland — Photography by Poppy Carter

Ellie + Jack — Rutland — Photography by Poppy Carter

Ellie + Jack — Rutland — Photography by Poppy Carter

Ellie + Jack — Rutland — Photography by Poppy Carter

Ellie + Jack — Rutland — Photography by Poppy Carter

Ellie + Jack — Rutland — Photography by Poppy Carter

Ellie + Jack — Rutland — Photography by Poppy Carter

Keely + David — Aswarby Rectory — Photography by Faye Wilde

Keely + David — Aswarby Rectory — Photography by Faye Wilde

Keely + David — Aswarby Rectory — Photography by Faye Wilde

Keely + David — Aswarby Rectory — Photography by Faye Wilde

Keely + David — Aswarby Rectory — Photography by Faye Wilde

Keely + David — Aswarby Rectory — Photography by Faye Wilde

Keely + David — Aswarby Rectory — Photography by Faye Wilde

Keely + David — Aswarby Rectory — Photography by Faye Wilde

Keely + David — Aswarby Rectory — Photography by Faye Wilde

Jess + Bruce — Aswarby Rectory — Photography by Matt Horan

Jess + Bruce — Aswarby Rectory — Photography by Matt Horan

Jess + Bruce — Aswarby Rectory — Photography by Matt Horan

Jess + Bruce — Aswarby Rectory — Photography by Matt Horan

Jess + Bruce — Aswarby Rectory — Photography by Matt Horan

Jess + Bruce — Aswarby Rectory — Photography by Matt Horan

Jess + Bruce — Aswarby Rectory — Photography by Matt Horan

Astrid + Jeremy — Aswarby Rectory — Photography by Rebecca Goddard

Astrid + Jeremy — Aswarby Rectory — Photography by Rebecca Goddard

Astrid + Jeremy — Aswarby Rectory — Photography by Rebecca Goddard

Astrid + Jeremy — Aswarby Rectory — Photography by Rebecca Goddard

Astrid + Jeremy — Aswarby Rectory — Photography by Rebecca Goddard

Astrid + Jeremy — Aswarby Rectory — Photography by Rebecca Goddard

Astrid + Jeremy — Aswarby Rectory — Photography by Rebecca Goddard

Astrid + Jeremy — Aswarby Rectory — Photography by Rebecca Goddard

Astrid + Jeremy — Aswarby Rectory — Photography by Rebecca Goddard

Astrid + Jeremy — Aswarby Rectory — Photography by Rebecca Goddard

Astrid + Jeremy — Aswarby Rectory — Photography by Rebecca Goddard
Astrid + Jeremy — Aswarby Rectory — Photography by Rebecca Goddard

Astrid + Jeremy — Aswarby Rectory — Photography by Rebecca Goddard